How to Hike The Annapurna Circuit (Without a Guide)
The Annapurna Circuit has long been considered one of the classic epic treks of the world. Located in Nepal, this trek crosses through the Annapurna mountain range, passing through two river valleys and crossing its highest point at the Thorung La mountain pass at 5416m (17769 ft).
The trek can take anywhere between 1-3 weeks depending on where you start and finish, covering between 160-230km (100-145 miles). Not only will the Himalayas blow your mind, but the Nepalese people will steal your heart as you hike between village to village in this beautiful country.
This is a once-in-a-lifetime experience that should be on the top of any adventurer’s bucket list! This post will share everything you need to know about hiking the famous Annapurna Circuit and how to do it without a guide.
WHEN TO GO
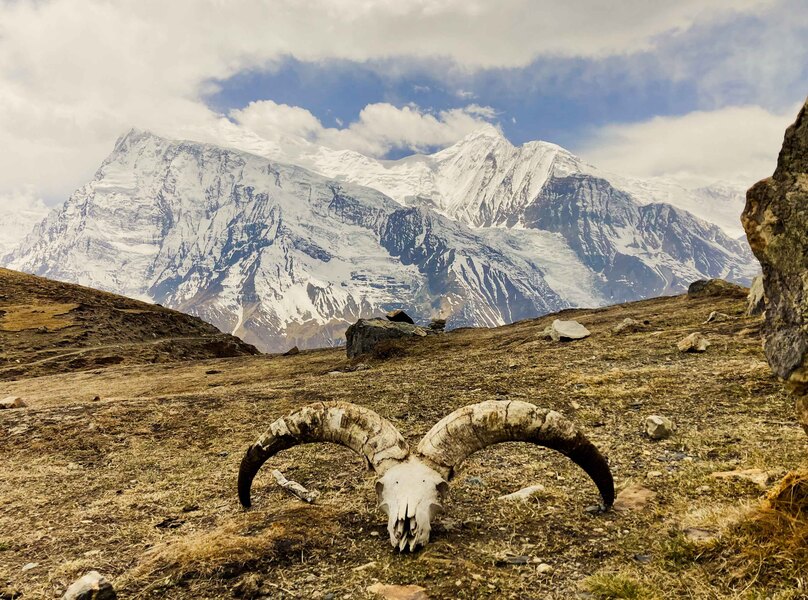
The best time to go trekking in Nepal is Spring and Autumn.
- September to November is the most popular time to trek. This is when you can catch the clearest skies with the best views but it may also mean more crowds, higher prices and less easily available accomodations.
- April to May are warmer months where you can catch spring blooms. Lower elevations may be hot and humid but higher elevations are cool and pleasant. May get cloudier skies and more rain compared to fall.
- Winter is too snowy and cold while Summer is full of monsoons. If planning to trek, choose your dates wisely!
DIFFICULTY/SAFETY
The Annapurna Circuit will take anywhere from 1-3 weeks depending on where you start/finish and your trekking speed. The entire first half up to the Thorung La Pass will be uphill and on the day of crossing the pass you will have to ascend 1000m (3280ft). Make sure you have some hiking experience before attempting a multi-day trek.
The most important safety consideration for this trek is mountain sickness. The Thorung La Pass is 5416m (17,769ft) high which puts you at high risk of mountain sickness. Give yourself at least 2-3 days to acclimatize in Manang (3519m) and Thorung Pedi (4450m) before attempting to cross the pass. We recommend doing the trail in anti-clockwise route to help with acclimatization. Read more about acute mountain sickness on our Hiking Acatenango post.
There are many tour groups that you can join if you would like to do this hike with a guide. You can also hire a porter to carry your gear (but please make sure to pack lightly for their safety!). This post will share how to do the Annapurna Circuit without a guide.
WHAT TO PACK
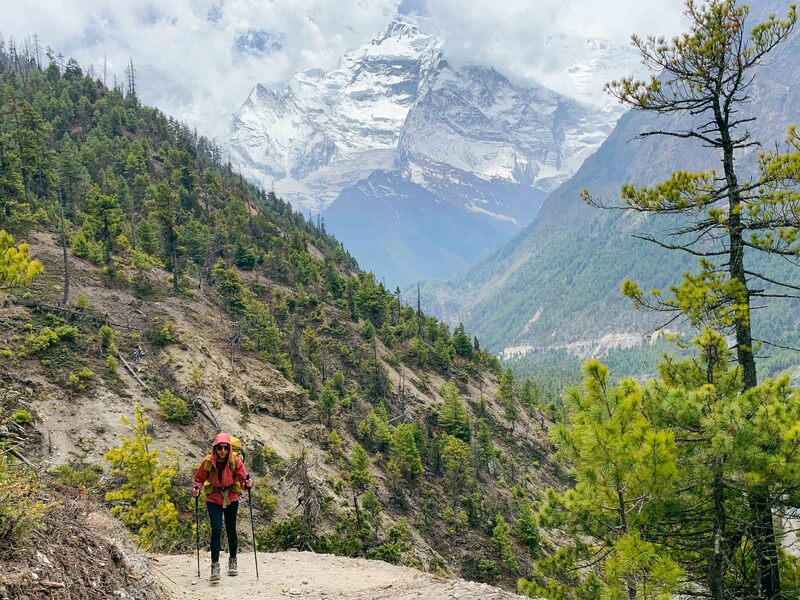
Whether you are carrying your own gear or hiring a porter to carry it for you, packing light will be key. What’s tricky about the Annapurna Circuit is the evolving landscapes you will pass. While way lower elevations the climate can be humid and tropical, up higher you can encounter high winds and snow. High quality layers are the way to go.
Here’s what we recommend:
- 2 hiking shirts (sun shirts offer extra protection from the elements and tend to be quick drying)
- 1-2 hiking pants (in case one gets wet)
- Rain jacket
- A thermal layer (this is also what we usually slept in)
- A down jacket
- A sweater or fleece for extra warmth
- Sunglasses and a hat for sun protection
- A buff/scarf and gloves
- Underwear
- 3 pairs of socks (make sure 1 pair is very warm)
- Hiking boots
- A pair of sandals (we love our Teva’s)
- A bag to separate dirty clothes
- Bathroom essentials only
- Sunscreen
- Sleeping bag
- Trekking poles
- A water filtration system (our favorite is the Katadyn BeFree water bottle)
- A reusable water bottle or water bladder
- Headlamp
- A map and GPS system (we use AllTrails Pro and carry a Garmin inReach Mini)
- Charging cables and a portable charger (we got a solar charger for this trip)
- An emergency kit
- Cash (there are only unreliable ATMs in Besisahar and Manang. We recommend pulling enough cash for the trek in Pokhara. We were told ~$20-25 USD/person/day.)
- Your ACAP and TIMS permits
- Snacks
- Phone +/- headphones, a Kindle/book or playing cards (your entertainment of choice for evening downtime)
- A bag to carry out all your trash
ACCOMODATIONS
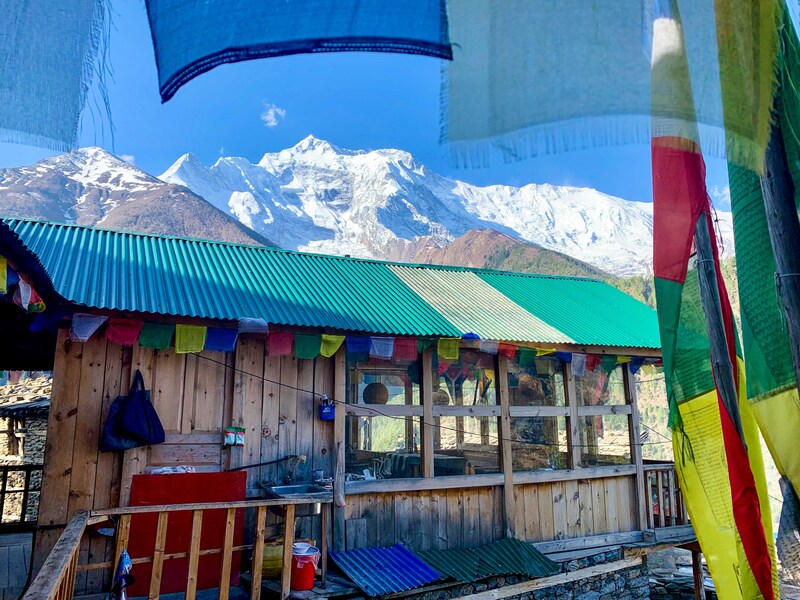
The Annapurna Circuit is a “tea-house trek” meaning that you will be hiking from town to town. Most towns have some form of guest houses or hotels, although some are nicer than others. When you arrive, you can ask the host if they have rooms available. Feel free to browse around town before committing to a place.
All of the accommodations are all pretty basic; some rooms come with attached squatty potty vs Western toilet. Some will have solar or gas powered hot showers, charging stations and even Wifi. As you get higher in elevation, expect less amenities, hot water and Wifi. Although most lodges provide blankets, most nights we slept in our sleeping bags underneath the blankets for additional warmth.
We recommend paying a little extra for nicer places. Bed bugs can be a risk. Most accommodations are pretty cheap ranging from 200-1000 NPR.
FOOD
There are an abundance of restaurants and tea shops en route, so you will never be without food. It is always safe to carry some snacks, but you do not need to travel with meals when doing this trek. Enjoy the freshly cooked food in each town as you arrive. Meals can range from 200-1000 NPR.
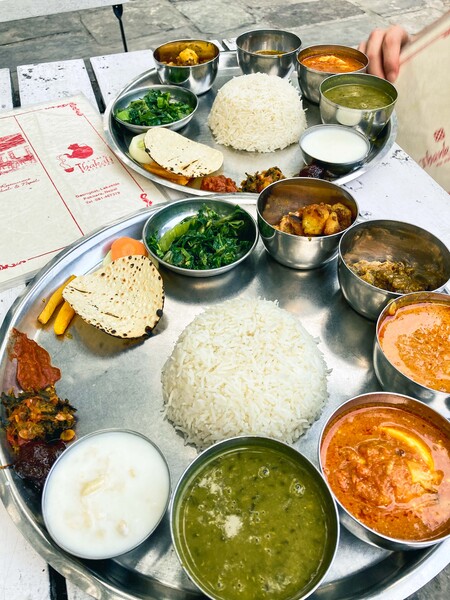
Common meals will be daal bhat (rice, lentils, vegetable curry, greens), chow mein, mo mo’s (Tibetan dumplings), thukpa (Tibetan noodle soup), fried rice. Some places offer pizza and other Western dishes. Most accommodations will ask for your morning breakfast order and time the night before.
You will notice on the trek that some accommodations tend to be more popular than others. Unfortunately, this means that smaller guesthouses tend to lose out on potential income. We recommend spreading the wealth by choosing to eat your meals at smaller guesthouses to help out the community.
ARRIVING IN NEPAL
Upon arriving in Nepal, you will need to obtain a visa. This was very easy to do once you land at the airport.
As you enter the airport there will be kiosks to your right where you can fill out a visa form. You can apply for 15-day, 30-day or 90-day visas. After completing the form, you will take a photo of the end screen on your phone and walk to the payment counter on the left. It cost us $50 USD for a 30-day visa. We were able to pay with a credit card, although they mentioned they prefer cash.
After payment you can proceed through immigration. The whole process only took about 30 minutes and there were many airport staff that spoke some English to help out.
If you are staying in a hotel in Kathmandu, many can arrange airport pickup for you. Just ask them prior to arriving. There are plenty of taxis available at the airport, but it can be a little chaotic. The airport is approximately 15-20 minutes from the city center of Kathmandu.
BEFORE YOU START
Before starting your trek, you will need to secure two permits either in Kathmandu or Pokhara.
- ACAP (Annapurna Conservation Area Project) Permit: This permit will allow you to enter the Annapurna conservation region. You will fill out a form and provide two passport photos. This one cost ~$30 USD/person. You can pay in rupees or dollars.
- TIMS (Trekkers’ Information Management Systems) Card: This is a trekking permit that is needed for all treks in Nepal. You will need to complete an online application which you can do while at the office using their wifi. This one costs 2,000 NPR/person and requires an additional passport photo.
We applied for both permits at the Kathmandu Tourism Board Office, Pradarshani Marg, Kathmandu 44617. The whole process only took about 30 minutes and they are open until 3pm.
This is the information you will need to apply for your permits:
- Your passport
- Your trek itinerary, including start/end dates and locations
- Emergency contact information for both Nepal (we used our Pokhara hotel) and your home country
- Your travel insurance plan and policy number (we used World Nomads)
- 4 passport photos
There are official ACAP checkpoints throughout the trek. At each checkpoint there will be officers who stamp your ACAP permit and write down your details in a logbook for safety and monitoring.
As this is a teahouse trek, you will need to carry cash to pay for food and accommodations as you go. Most people recommend carrying approximately $20-25 USD/person/day for expenses on the trek. There are no ATMs until you arrive in Manang, and even these can be unreliable. Pull out cash from Kathmandu or Pokhara before starting the trek.
Most ATMs will only allow you to pull 10,000-30,000 NPR at a time, so you will need to make multiple transactions. The best ATM we found was the Nabil Bank ATM inside of the Fairfield by Marriott hotel which allows you to pull 35,000 NPR at once.
GETTING FROM KATHMANDU TO POKHARA
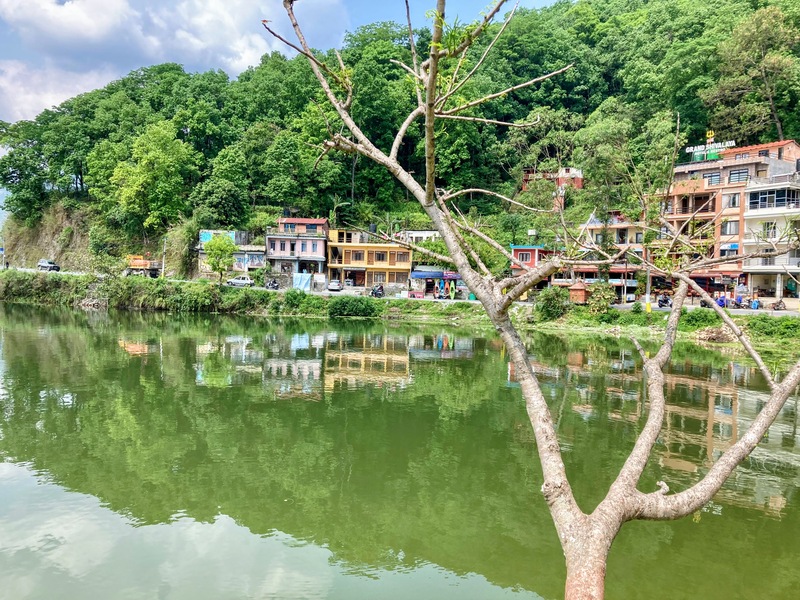
The most painless route is to take a flight from Kathmandu to Pokhara. The flight only takes 22 minutes and there are plenty of domestic airlines to choose from. One way flights range from $60-100 USD.
Another popular option is to take a tourist bus. By road the trip can take 7-8 hours. Tourist buses come in luxury (recliner seats, AC) and non-luxury options. To get a bus ticket, visit any tour company in Kathmandu as buying online does not seem to be an option.
If you want a seat on a luxury bus, get your ticket early as seats can fill up. Two luxury bus companies that we heard of were Greenline (although not sure if they are still running as their Kathmandu office was permanently closed) and Swift. These options will often include a buffet rest stop and cost $20-25 USD/person.
We ended up on a non-luxury bus called Baba Adventures. We had AC, but no recliner seats or buffet lunch. Non-luxury buses run between $10-15 USD/person. We made rest stops every two hours at local food stands.
There are also public buses that cost less than $10 USD. These are often without AC and may stop often en route. You may also be sitting on the floor or next to a chicken.
You can also hire a private van for 15-20,000 NPR. Many hotels can arrange for these.
Be aware that if you choose to go by road, your 7-8 hour trip may become a 10-11 hour trip depending on traffic, weather and unexpected road conditions (rock slides!). Nepalese time is a real phenomenon and this is what happened to us. Bring reading material or entertainment!
GETTING FROM POKHARA TO BESISAHAR
Besisahar is the official start point of the Annapurna Circuit.
You can book a bus from Pokhara to Besisahar through any tour company or with your hotel/homestay. Buses leave early at 630AM and tickets cost around 5,500 NPR/person. The bus takes 3-4 hours to reach Besisahar. Brace yourself, it’s a bumpy, dusty ride and most are filled to the brim. Embrace the experience and it’s kinda fun.
ROADS AND WHERE TO START
As mentioned above, Besisahar is the official start point of the Annapurna Circuit. Although this is where everyone historically started the trek, due to road construction now many trekkers choose to start further up such as in Bhulbhule, Ngadi, Jagat, Tal or Chame.
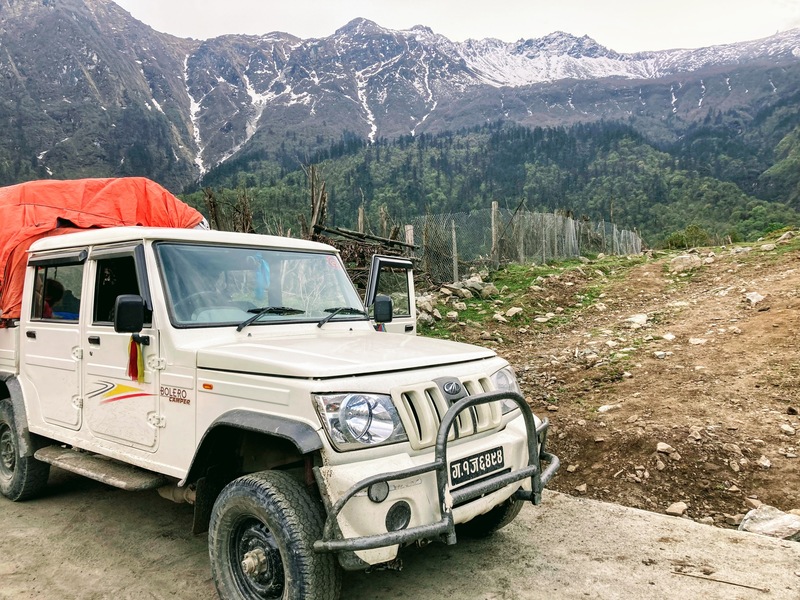
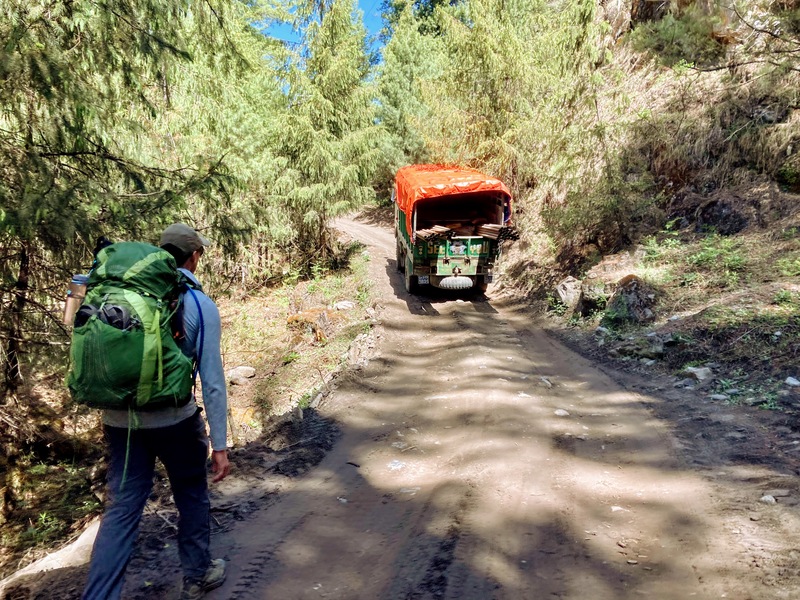
Nowadays, the road goes all the way from Besisahar to Manang. The road is mostly unpaved, so it is not crazy busy and is mostly used by jeeps and motorcycles with occasional buses. That being said, it can be annoying to inhale a bunch of dust and constantly looking out for speeding vehicles.
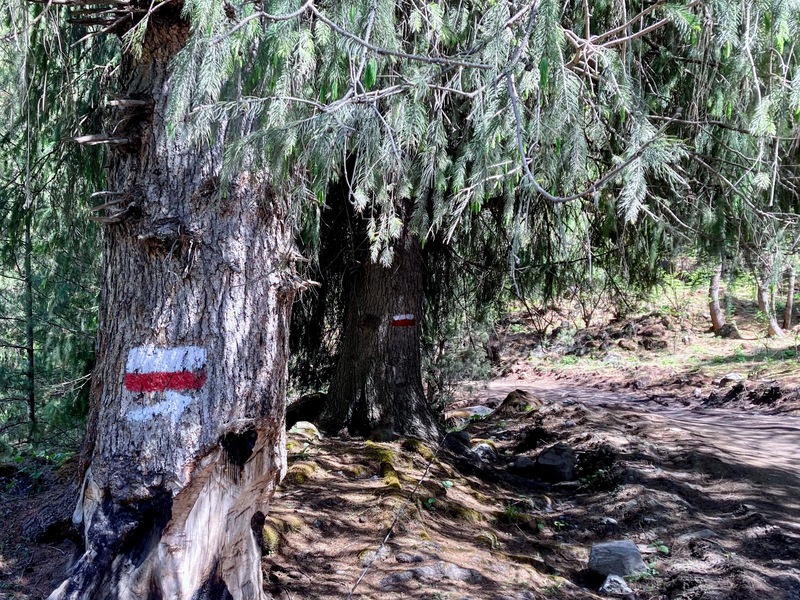
If you don’t like the idea of hiking next to jeeps, thankfully there have been alternative side treks mapped out by guide Prem Rai and trekker Andrees de Ruiter called the New/Natural Annapurna Trekking Trails (NATT). These side routes take you off the road and are very clearly marked with red/white or blue/white paint on rocks. Many of these trails have been used by generations of Nepali villagers. You can also access their amazing map here.
One of the coolest parts of the Annapurna Circuit is watching the transition of landscapes as you climb up to higher elevations. Starting in Besisahar will allow you to experience more of the lower tropical regions, but be prepared for heat and humidity.
We decided to start the trek in Chame to shave off 3-4 days of trekking so we could spend more time in the higher elevations. In retrospect however, we would recommend starting in Jagat or Tal, which would give you a lovely trek through some impressive transitions in landscapes while still skipping the busy and less scenic earlier part of the trek.
To start anywhere further down the trek, you will need to take a jeep from Besisahar to your starting point of choice. Shared jeeps can range from NPR 250-3000/person depending on how far you are going. It took 5-6 hours to jeep to Chame.
SAMPLE ITINERARIES
To help plan out what route suits you or your group the best, here are some sample itineraries with travel times and elevation maps that we found on Lonely Planet Trekking in the Nepal Himalaya Travel Guide (which we highly recommend).
Of note, these travel times are based on the classic Annapurna Circuit route and do not take NATT trails into account, which can sometimes add a little time to your journey between towns. For the most part, we found these timetables to be a good rough estimate of time required.
As you can see below, the trek length can take anywhere between 1-3 weeks depending on where you choose to start and finish.
We recommend starting in Jagat or Tal and ending in Marpha or Jomsom.
OUR ITINERARY
DAY 1: BESISAHAR TO CHAME
Your bus from Pokhara will drop you off at Besisahar, which is the last busy town you will encounter for a while. If you haven’t gotten your permits, you can still get one here. Also a good place to grab any last minute supplies.
As soon as your bus drops you off, you will be greeted by a bunch of jeep drivers. We arranged for a shared jeep to Chame at 12p which cost 3000 NPR/person. We squeezed in a quick Nepali Thali lunch at the guesthouse in front of the bus stop before we departed for our 6 hour bumpy journey.
Think of your Jeep ride less as transportation from A to B and more as an adventure tour. The road can be kind of scary at parts, but is scenic the entire time. You will also encounter plenty of goats and maybe even langur monkeys on your way up.
As you leave Besisahar, the canyon will gradually become more and more narrow. You will see some beautiful waterfalls and cross over some raging rivers.
Jagat is an adorable rainbow colored mountain town en route with lots of colorful guest houses. It’s perched on a cliffside and seems like a lovely place to stop by or to start your trek.
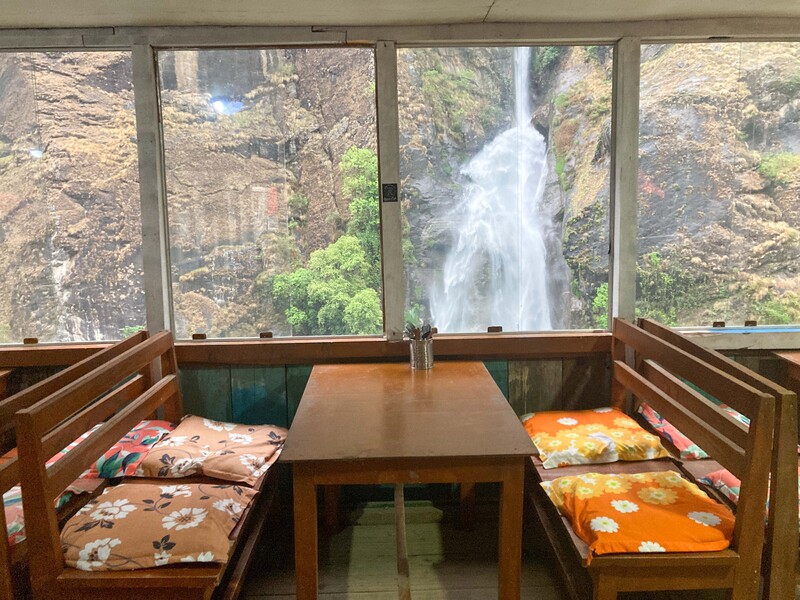
After Jagat, we stopped by Boong Waterfall Restaurant for some delicious masala tea. The restaurant has an incredible location with views of the waterfall and large glass interior. Definitely grab some tea and a snack.
On the way to Tal, you will hit your first TIMS/ACAP Checkpoint. You will show your permit, confirm your age, get stamped and be on your way. Tal is a super cool town in the valley on the river. According to our driver, lots of people start the trek here. You also have the option to go on some day hikes to different waterfalls. The temperature cools down significantly starting here.
If we do the Annapurna Circuit again, we would start in Tal or Jagat. From Tal onwards you will experience incredible transitions in landscapes and geographies while still bypassing a lot of the less scenic and busy jeep road.
At Dharapani you will hit another Checkpoint. Dharapani is also an amazing place to start. Plenty of day hikes and you can also connect to the Manaslu trail from here.
Starting at Bagarchhap, you will start to get unreal Himalayan mountain peak views, including Manaslu mountain. This part of the drive is breathtaking and would have been an incredible hike. Much colder up here.
If you can, stay in the high valley of Timang to wake up completely surrounded by Himalayan peaks.
Finally arriving in Chame, we wandered across the bridge to the western-most part of town and decided to stay at the White Stupa Guesthouse, which sat up high on the river and was a little more secluded from town. Service was excellent, bathrooms were clean, bed was comfortable and they had great Wifi. No hot water in the rooms but shared hot water showers downstairs. We had Nepali Thali and vegetable curry at their restaurant.
DAY 2: CHAME TO UPPER PISANG
As you leave Chame, you will be followed by amazing views of Manaslu behind you. After about 90 minutes of hiking, you will reach the apple orchards of Bhratang. Stop by Bhratang Teahouse for some delicious apple crumble, apple donuts, coffee and (of course) fresh apple juice.
After Bhratang, you will cross a suspension bridge with great views and hike uphill past an old abandoned guerilla camp. Before reaching Dhukur Pokhari, you will walk by the dramatic Paungda Danda, an absolutely massive rock face that extends 1500m up from the river. Locals believe the deceased must climb this wall and call it the “Gateway to Heaven”.
You can stop by Dhukur Pokhari for food and then continue onwards. There will be a split in the trail where you can now choose to go to Lower Pisang or follow the red/white paint markers to Upper Pisang. Upper Pisang offers much better views and the trail up wasn’t too bad.
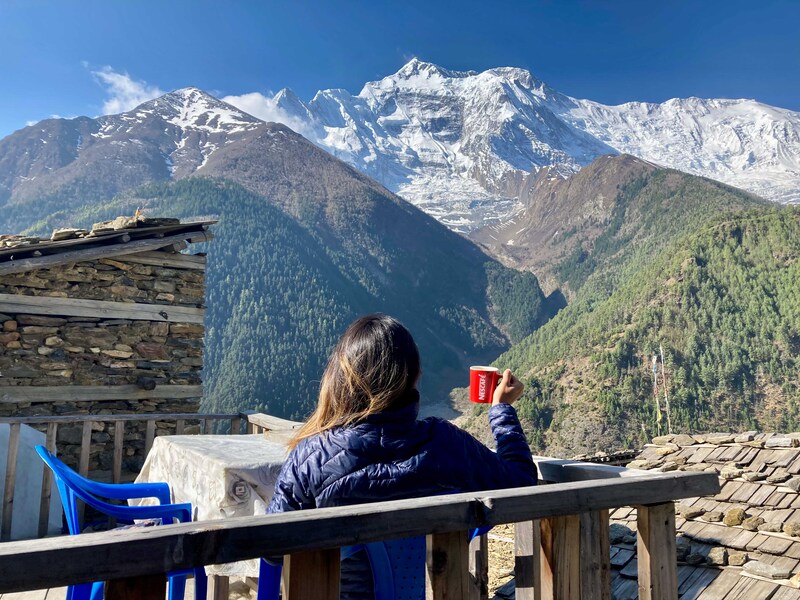
In Upper Pisang we stayed at Mountain Bridge Hotel which has beautiful views from their dining hall and rooftop, warm beds and is run by the most loving kind family. This was also the most delicious dhal bhat we had on the trek. There is a gas hot shower, surprisingly good Wifi and a cozy fireplace in the dining hall, but it is really the people that make this place so warm. We had a great night.
DAY 3: UPPER PISANG TO NGAWAL
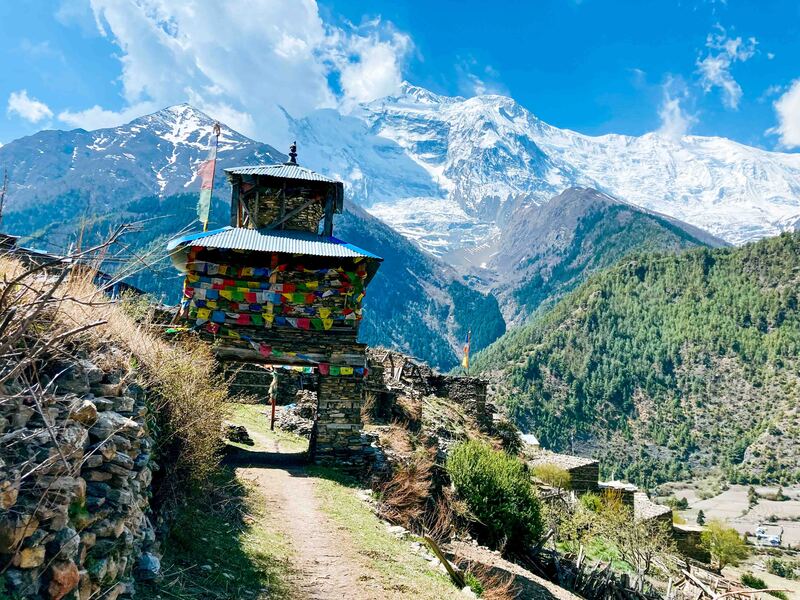
Before leaving Upper Pisang, walk up the steps without your pack to the temple at the top of the hill. The views of Upper Pisang, Lower Pisang and Annapurna 2 are lovely and mornings tend to be extra clear. The temple was lively with incense, chants and townspeople.
You will exit town with Annapurna 2 behind you. There are two routes to Manang from here: the easier and shorter lower route or the insanely beautiful but more strenuous upper route. We definitely recommend the upper route. The mountain vistas are unreal.
Follow the clearly marked white and red paint to guide you towards Ghyaru. You will cross a long suspension bridge with amazing views of Annapurna 2. After the bridge you will start a hard ascent up to Ghyaru which is basically an hour and half of switchbacks.
At the top, reward yourself with tea, apple pie and more at Himalaya Restaurant/Mountain Hotel and Restaurant (there are 2 signs up here, but it’s the first establishment getting into Ghyaru so you can’t miss it). Run by a little old lady, she makes the apple pies herself. We also had a delicious egg-mushroom-vegetable thukpa (noodle soup). It was fantastic and so was our adorable host.
From there, a few more quick switchbacks lead you into the heart of the stone town Ghyaru. One of the coolest little villages of the Circuit. Perched high on the mountains, all of the homes are built with stone and it feels frozen in time. Stop for some photos and then follow the red/white paint markers up and through town towards Ngawal.
The walk from Ghyaru to Ngawal is unreal. No more switchbacks, you are now rewarded with a more gradual incline with some stretches of flat walks as you are surrounded by multiple mountain peaks. Breathtaking. One of the most epically scenic parts of the entire trek.
We overnighted in Ngawal at Tibet Guest House & Restaurant, a large multilevel stone building with a green roof towards the further part of town. The views from the room are amazing and we got an attached in-room squatty potty. Pretty standard dinner and breakfast. It gets pretty chilly up here.
DAY 4: NGAWAL TO MANANG
There are multiple routes from Ngawal to Manang. One route will take you up past a small village called Julu. We decided to follow the road down instead which will take you straight to Mungji. Here you will start to see some new interesting products such as yak cheese, yak yogurt and seabuckthorn juice/tea. We enjoyed the yak yogurt and seabuckthorn tea at New Namo Buddha Lodge and Restaurant, where they also had surprisingly good Wifi.
From Mungji, it is a short 20-30 minute walk to Bragha. There are regional specialty dishes in this area such as potey kein (rice with buckwheat lentils) and lots of bakeries.
Another short 30 minute walk along the river will bring you to the larger village of Manang. Most trekkers spend 2-3 days acclimating and resting in Manang before tackling the Thorung La Pass. Make sure you stop by the ACAP checkpoint in town, which is also a good place to learn about activities/day-hikes in the region.
There is also a free daily 3pm altitude sickness lecture run by the Himalayan Rescue Association behind the Hotel Nilgiri. Everyone attempting to cross the pass should attend.
We decided to check into the large Tilicho Hotel for the next few nights. This place has decent Wifi and solar-showers which actually get very hot if you use them before evening time. Check in early if you want a room with a view. Pretty standard dinner and breakfast with a very cozy dining hall and attached cafe. Rooms are clean and some come with an attached western toilet. We were very happy with our choice.
DAY 5: MANANG REST DAY- CHONGAR VIEWPOINT
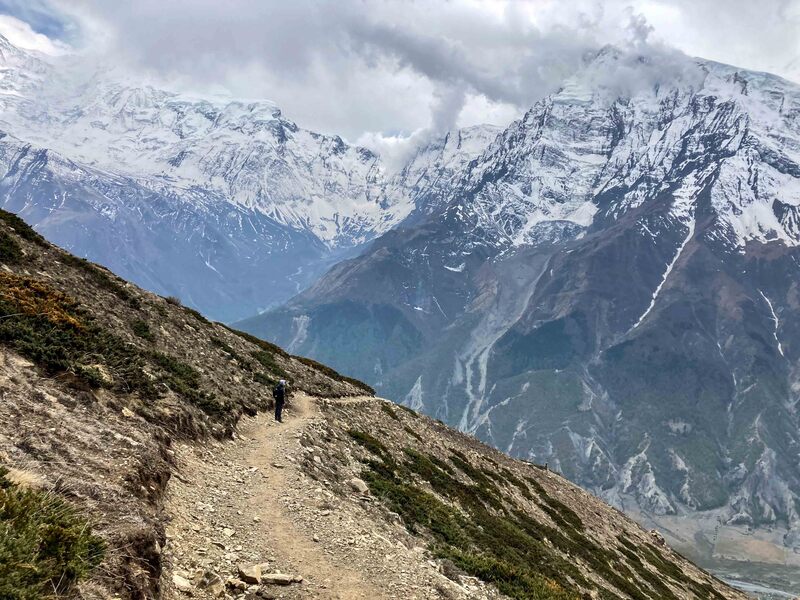
There are many days hikes and side treks you can do from Manang. For our rest day we hiked to the Chongar Viewpoint. It’s a short but steep 45 minute climb up to the top where you will be rewarded with up close and personal views of the Gangapurna Icefall glacier.
There is even a little tea house on top called the Chonkhor Viewpoint Restaurant. The views are incredible and the trail actually continues past the tea house bringing you closer and closer to glacial views. Do this hike before afternoon as it tends to get cloudy and windy later in the day. Highly recommend it.
We spent the rest of the afternoon snacking and grabbing some last minute supplies before our hike to Ice Lake the next day. Manang is well stocked with supplies (we even found micro-SD cards up here!) so if you need any warm layers or forgotten items, it is a good place to restock before starting the pass.
We considered doing a 3 day side-trek to Tilicho Tal/Lake, but heard that parts of the trail had been washed away and there are some sketchy portions on eroded scree slopes. After our Kalalau Trail adventure, we decided to pass and opted for the shorter (yet almost equally high) Ice Lake day trip instead. Only attempt Tilicho Tal if you are a very experienced hiker or are going with an experienced guide.
We ran out of time, but we wanted to do the 75 minute hike up to Praken Gompa. Located at 3945m, this meditation retreat is supposed to have incredible Annapurna views. For a small donation, the resident Lama will bless your journey across the pass by tying a sacred thread around your neck. There is also a viewpoint restaurant on the way up. Next time.
DAY 6: ICE LAKE
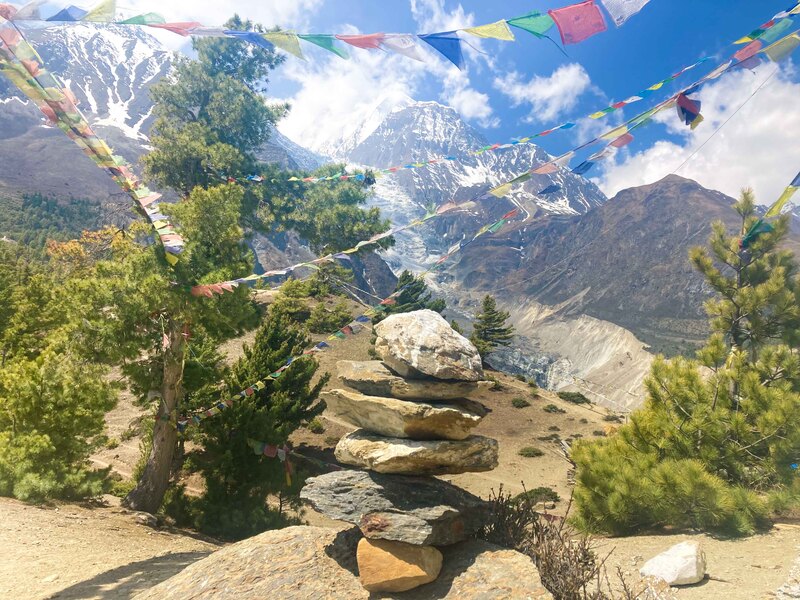
Ice Lake is one of the most amazing side excursions you can take from Manang. It can be done as a day hike, just make sure you leave early as it can take 6-9 hours and you don’t want to hit bad weather on your way down. We started the trail by backtracking to Bragha. You will follow the blue and white trail markers to Ice Lake.
It is a strenuous four hours straight up to the top with 1000m elevation gain. This is more elevation gain than you will do on the day of crossing Thorung La Pass, so it is a good confidence builder. The top is 4620m high, compared to 4920m of Tilicho Lake done over two days. Although it is a hard hike, the views all the way up are breathtaking.
There is a tea shop approximately halfway up although we’re not sure if it is currently operational. Ice Lake will actually be the second lake on your way up. Once you hit the first lake, the second is a mostly flat 15 minutes away. At the time of our hike, the lake’s were not frozen.
The lake’s themselves are not that spectacular, but the vistas up are unreal. Bring some pastries up from the bakeries to have a lakeside lunch and enjoy the views. The hike down sucks way more than the way up.
DAY 7: MANANG TO YAK KHARKA
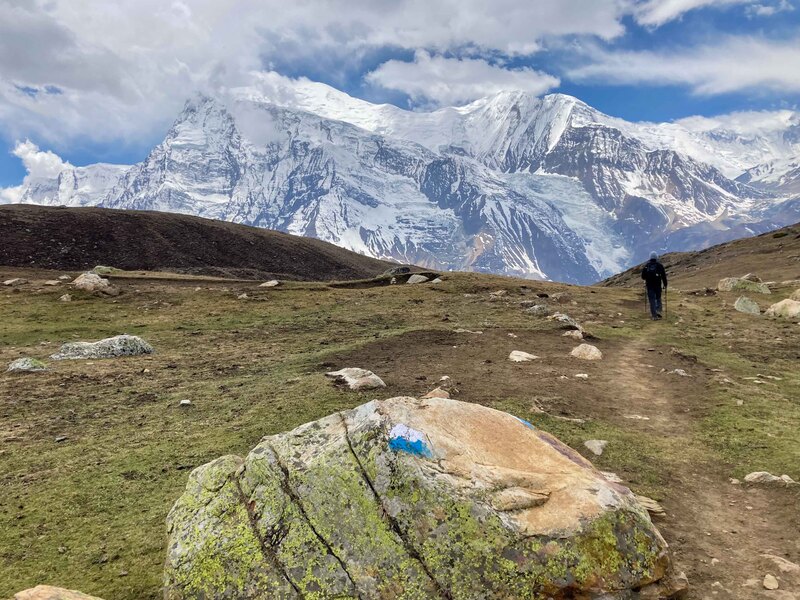
After leaving Manang, you will run into a lot of horses and yaks in the region. In about 30 minutes you will hit the small town of Tengi.
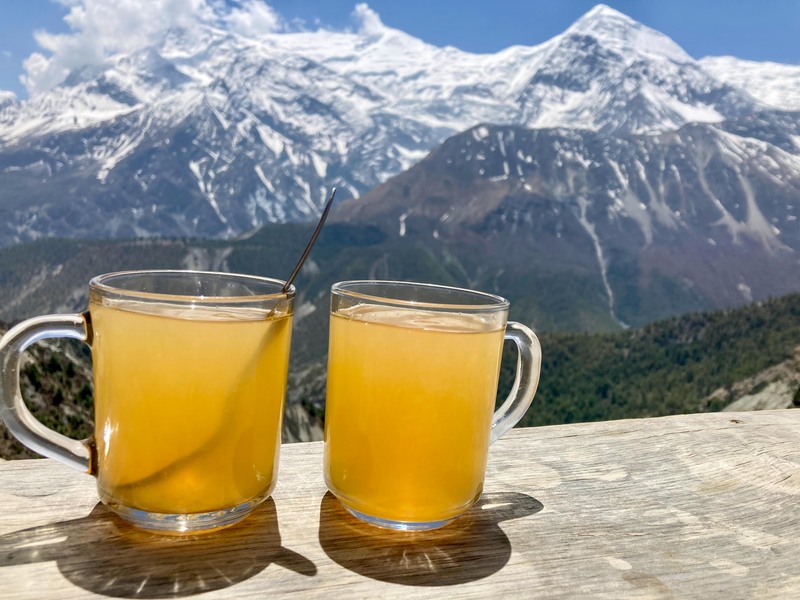
You will then start crossing a valley into Gunsang. Stop by Chullu West Hotel for some ginger lemon honey tea and enjoy their amazing rooftop view.
Afterwards, cross a suspension bridge into another valley which is quite windy. From Gunsang it will be a mostly level 90 minute walk to Yak Kharka, which is a nice little town with many lodges. The best atmosphere was at Hotel Dream Home, located a little bit outside of the main town. They had a warm dining area and rooms with attached bathrooms.
DAY 8: YAK KHARKA TO THORUNG PHEDI
From Yak Kharka, the next town Letdar is about an hour away. You can also stay in Letdar, but we read that accomodations in Yak Kharka are nicer.
After Letdar, you will pass by some yak pastures and a suspension bridge followed by a steep ascent to a tiny little tea house. Stop by and rehydrate with some ginger tea. From here you are about 30-45 minutes to Thorung Phedi.
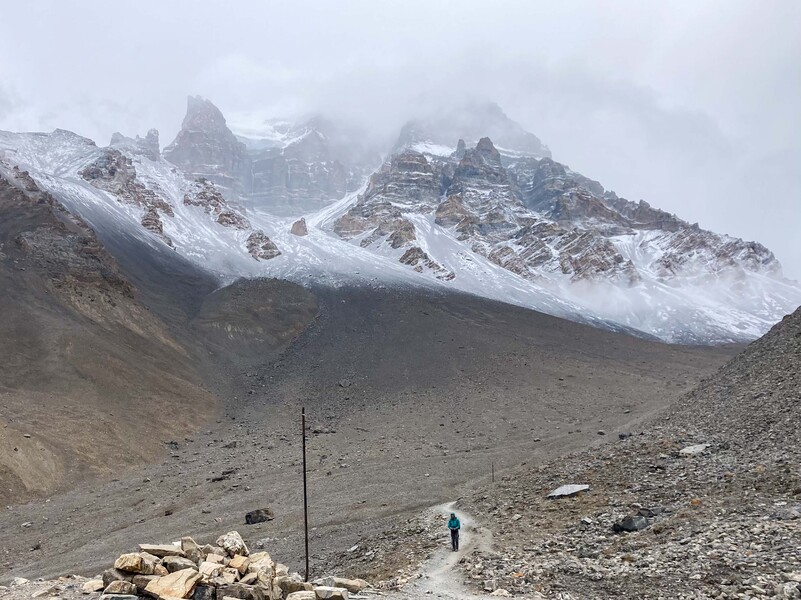
After the tea house is probably one of the more dangerous parts of the entire Annapurna Circuit trail as you cross through a landslide area. There is a lot of loose rock and gravel. Cross this portion slowly and carefully.
The entire trip from Yak Kharka to Thorung Phedi takes about 3 hours. There are few lodges here and we stayed at Thorung Base Camp Lodge which has barebone rooms (avoid the ones with attached bathrooms- they do not smell great) but a nice popular dining area with lots of games and a fireplace. It’s the first lodge you will hit on the right.
If the weather doesn’t look good, wait it out at Thorung Phedi before attempting to cross the pass. If you are injured, horse and helicopter services are available from Thorung Base Camp Lodge. They also have a satellite phone that can be used for emergencies.
If you are feeling shortness of breath that is not improving with rest, dizziness, problems with balance, confusion, vomiting, cough, visual changes or any other symptoms- turn around immediately and DESCEND. These can be signs of dangerous mountain sickness and the only treatment is DESCENT.
An hour uphill from Thorung Phedi is Thorung High Pass Camp located at 4850m where you can also stay, but it can be hard for some people due to the cold and high altitude.
DAY 9: THORUNG PHEDI TO THORUNG LA PASS TO MUKTINATH
This is the big day. It also happened to be Dr. S’ birthday. Hiking 1040m straight up to reach a mountain pass at 5416m. What a way to celebrate your birthday, right?
It will take 3-5 hours to reach the pass from Thorung Phedi. From Thorung Phedi, you will immediately start switchbacks up past the lodges at higher elevation. The trail gets a little tricky to follow here, so if you are leaving before sunlight make sure you use a headlamp. You will reach High Pass Camp in about one hour.
After High Pass, you will have a 45 minute climb to the Yakawa Thorung Ri Teashop at 5030m. Take a lemon ginger tea break and buy some chocolate bars to eat at the top. You are about two hours from the Pass at this point.
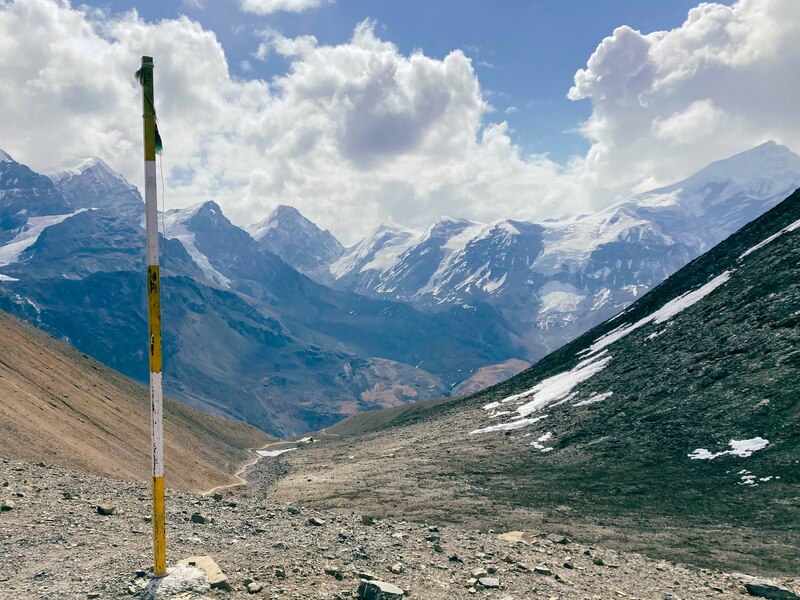
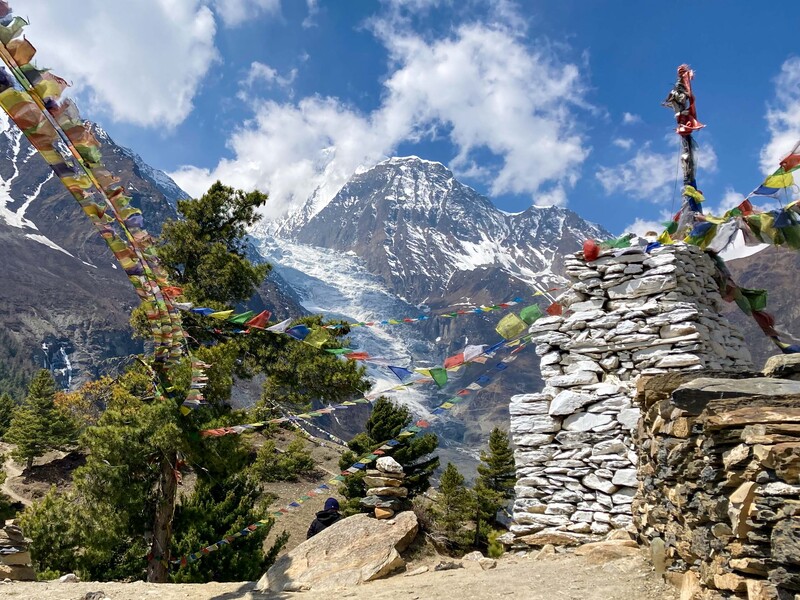
After more ascent with some spectacular snow peak views, you will reach a collection of prayer flags and a sign marking that you have reached the top! Surprisingly there is another teashop here at 5416m called the Thorung Top Teashop. Reward yourself with a cup of tea on top of the world. You deserve it!
From here on you will be crossing the actual mountain pass. There are no longer red and white markings to follow, but rather poles instead. This is to make sure you can follow the trail in case it is covered in snow. The weather can change in an instant up here and the visibility can become sketchy, so make sure you take extra precaution to pass through quickly and safely.
On the way down, you will descend 1600m in about 4 hours. You will see a city down in the valley (which is not Muktinath, by the way) which seems to never get any closer. Be careful as the trail can sometimes become slippery creating a recipe for broken bones. Slow and steady.
You will pass through a small town on the way down called Chabarbu which is a nice place to stop for a food break. The descent will eventually flatten out and you will follow the trail to the left towards Muktinath.
Muktinath is a pilgrimage site for Hindus and Buddhists and you will see many visitors from India and Nepal. Continue 10 minutes into Ranipauwa which is full of yak scarves, souvenirs and accomodations. Make sure to stop by the ACAP checkpoint across from The Shree Muktinath Hotel.
We stayed at The Shree Muktinath Hotel, which is supposed to be one of the nicer places to stay but we did not feel very welcome there. They seem to favor large groups rather than individual trekkers and our room was overbooked even though we had reserved ahead of time. We were forced to switch rooms on our second day and the hot showers only worked if you asked them to come fix it. Unfortunately, we would not recommend staying here.
Across the street is the popular Hotel Bob Marley which is more hostel than hotel, but full of friendliness, shared hot showers (really hot!) and a lively atmosphere. We enjoyed our experience here much more. It’s basically where all trekkers reconnect after crossing the pass. Nice little cafe as well. Pour some apple brandy into your honey ginger lemon tea and enjoy the stories and company.
DAY 10: MUKTINATH REST DAY
Muktinath is a holy pilgrimage site for both Hindus and Buddhists. After crossing the pass, it’s nice to give your legs a rest and Muktinath has plenty to see.
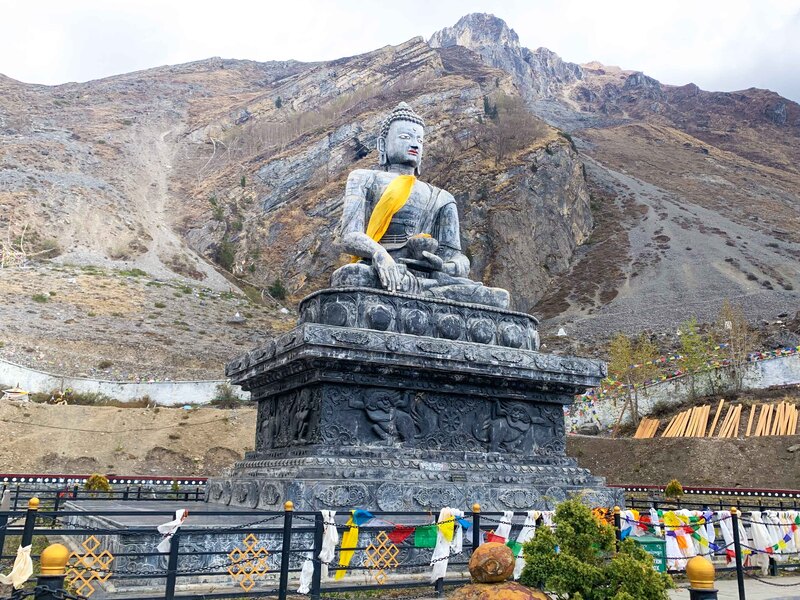
You can’t miss the main temple complex which has a large white staircase leading up to it. After entering, you will encounter a large Buddha statue to the right and one of the most beautiful gompas you can enter via a staircase to the left. The gompa is full of little Buddha statues from ceiling to floor, has an ornate chandelier and several primitive deity sculptures. Definitely take a walk through.
The main event is right in the center of the complex. There are 108 water spouts and two frigid pools where you will see Hindu pilgrims taking a sacred dip. Between the two is the Jwalamai Temple, where a holy natural gas flame burns. This combination of earth, water and fire is why Muktinath is considered so special.
There are multiple other temples in the surrounding area and you can even take a day trip to Jhong, which was once the capital of the region. This area was previously restricted for permits only.
We enjoyed some spicy dhal bhat and a night of shisha (hookah) at Ranipauwa Thakali. We also had a good meal at Eureka Inn Roof Top Restaurant and Thakali Kitchen.
DAY 11: MUKTINATH TO MARPHA
From here on the trail is all downhill until Ghorepani. For the descent from Muktinath, we decided to rent a mountain bike from Mustang Outback Adventures. The shop owner is incredibly friendly and helpful. Bikes are high quality and you have the option of doing a 1 day bike ride to Marpha (~3500 NPR) or a 2 day ride to Tatopani (~7000 NPR). They will transport your luggage to your final destination, provide helmets/repair equipment and brief you on the route.
You will take an incredibly easy and smooth paved road to Kagbeni. The route is very picturesque with lots of rolling green hills and pastures. If biking, stay on the left side of the road and be cautious of passing jeeps and buses. Kagbeni is a cute medieval town with plenty of places to eat and stay.
From Kagbeni to Jomsom, the road is no longer paved and you will be going mostly downhill on some very rocky roads. There are intense headwinds on this portion of the trek that will continue all the way to Tukuche. For this reason, it is better to start your day earlier, as winds get extra intense around noon. Bring sunglasses, a hat and a buff for protection from dust and small rocks.
Many people end their trek in Jomsom as it is a good place to arrange a flight to Pokhara/Kathmandu or catch a bus. Plenty of places to eat and sleep, but Marpha is nicer.
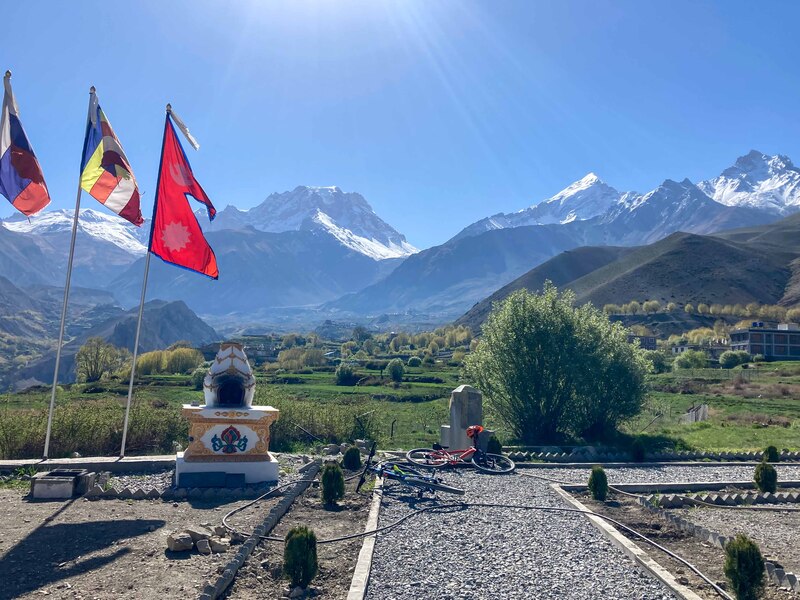
We continued onwards to Marpha, which is one of the apple capitals of Nepal. An adorable little village surrounded by apple fields. We highly recommend staying at Hotel Tanapopo, the nicest accommodation we stayed at during our entire trek. Their rooms have attached western bathroom with private hot showers. They have a glass restaurant with a beautiful garden and the hosts are an incredibly friendly family. If we could, we would have spent a few days recovering here. 5 stars!
Marpha also has a bus station so it would be a lovely place to end the trek if operational. You can always hike back 90 minutes to Jomsom if unable to arrange a ride back from here.
DAY 12: MARPHA TO NAURIKOT VILLAGE
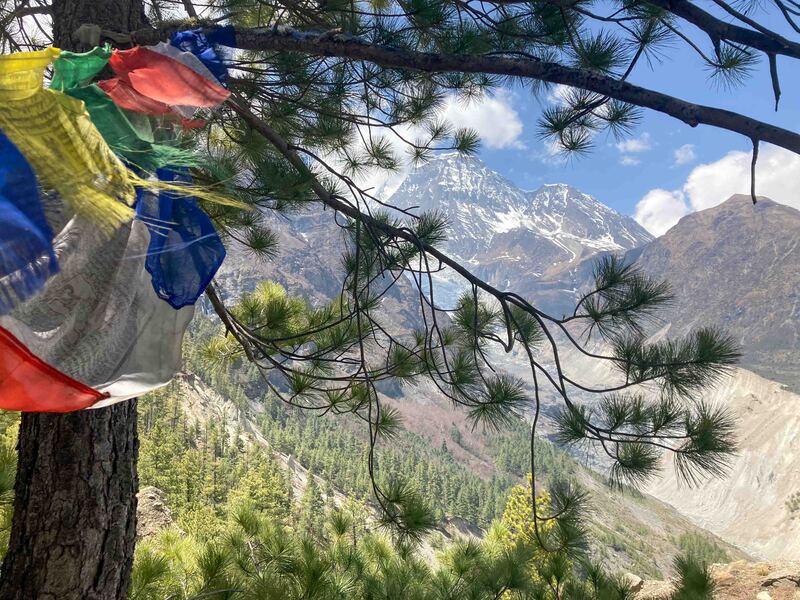
From Marpha, the trek continues to be mostly downhill and flat. You will cross a suspension bridge and pass a Tibetan refugee camp. Then follow the red/white markers to the tiny Tibetan town of Chhairo.
From here you will cross another suspension bridge on your way to Tukuche. You will encounter New Tukuche first, but continue onto Old Tukuche and make sure you stop for a meal at Sunil Guest House. This was one of the freshest, tastiest meals we had on our entire trek. The host, Purna, is amazingly sweet and cooks up delicious meals from her garden. We had the garden garlic soup, vegetable egg fried rice and mushroom/veg noodles. All three dishes were incredible and her open courtyard and garden are beautiful, just like she is. Her claim to fame is having the best apple pie in town.
From here you can follow the road to Larjung, where the towns still feel as remote as those up higher in the mountains. If you follow blue and white trail markers, you can hike up to Naurikot village, which sits up on a ridge above Larjung with nicer views.
Up in Naurikot village there is a very expensive Lodge Thasang Village, which charges $150-200 USD per room as opposed to the normal price of <1000 NPR. Although it has a nice lawn and interior, there was no hot water in the rooms and our interaction was awkward. We felt it wasn’t worth the price and decided to stay at Gurusangbo Hotel instead with a very nice welcoming family, good food and basic accommodations.
DAY 13: LARJUNG TO POKHARA
From Larjung, you can continue hiking to Ghasa or Tatopani if you have an additional 1-2 days. We were pretty tired at this point and we heard that buses were not all stopping in Ghasa as they typically do due to the pandemic. Our host advised us to instead try to catch a bus to Pokhara from the main road around 8am in front of Larjung.
Hiking down from Naurikot village, we were able to catch the first public bus we saw to Pokhara from the main road. Seats usually need to be reserved in advance, so we had a bumpy ride on the bus floor for much of the trip. The public bus makes many stops and it took us about 8 hours to get back to Pokhara.
Due to road conditions, we think taking a jeep rather than a bus would be a safer option. From Muktinath the ride would be around 11 hours, so the further you walk, the less of a ride you will have. If we could do it again we would probably try to arrange for a jeep or bus seat in Marpha or backtrack to Jomsom. Prepare for a bumpy ride back either way.
OVERVIEW
The Annapurna Circuit is an amazing tea-house trek that we definitely recommend and would even do again. Although parts are of the trail are now on the road, the well-marked NATT side trails do a great job of creating alternative pathways to avoid traffic. We would recommend starting in Jagat or Tal and ending in Marpha or Jomsom. Give yourself some rest days in Manang before crossing the Thorung La Pass to acclimatize and explore the area. Experiencing the Nepalese culture is one of the best parts of this circuit and you will be welcomed with delicious food and open hearts throughout the trek. If you found this guide helpful, let us know in the comments below!
